Editing Field Templates
Field templates are the forms you fill out to create or edit a backlog item. They are heavily customizable, and you can create multiple variations for different projects, workflow steps, email notifications, and more.
If you need to quickly access your field templates, start by navigating to Tools Fields Field Templates
Editing the current field template
Whenever adding or editing an item, if your user has the security role privilege to edit field templates, they can do so by clicking on the gear icon in the upper right.

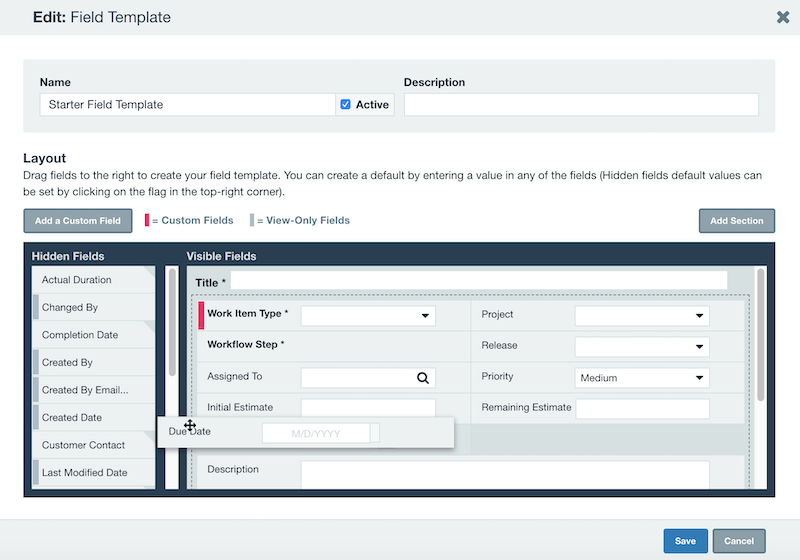
The Field Template Editor
The Field Template Editor breaks your field template down into two main sections: Visible Fields and Hidden Fields. The Visible Fields section shows exactly what the field template will look like.

You can drag and drop fields around to customize the layout, or move fields between Visible and Hidden to show or hide them.
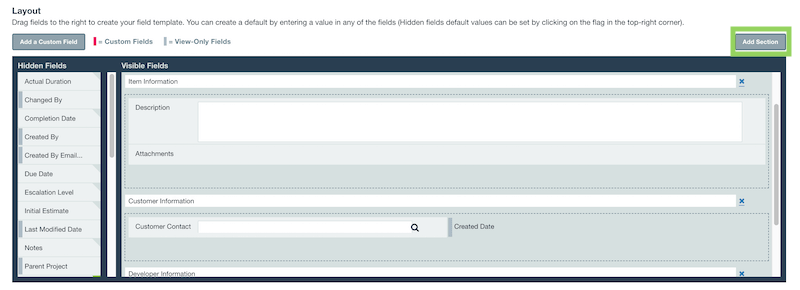
Sections
Fields can be grouped into sections to easily group information. To add a section, select Add Section . You can give the section a name, add fields to the section, and move the section by dragging and dropping.
Required and read-only fields
Fields that are required will not allow the user to save the item until information is entered into those fields. If it is the Comments field that is required, then the user would need to add a new comment every time the item is edited or saved.
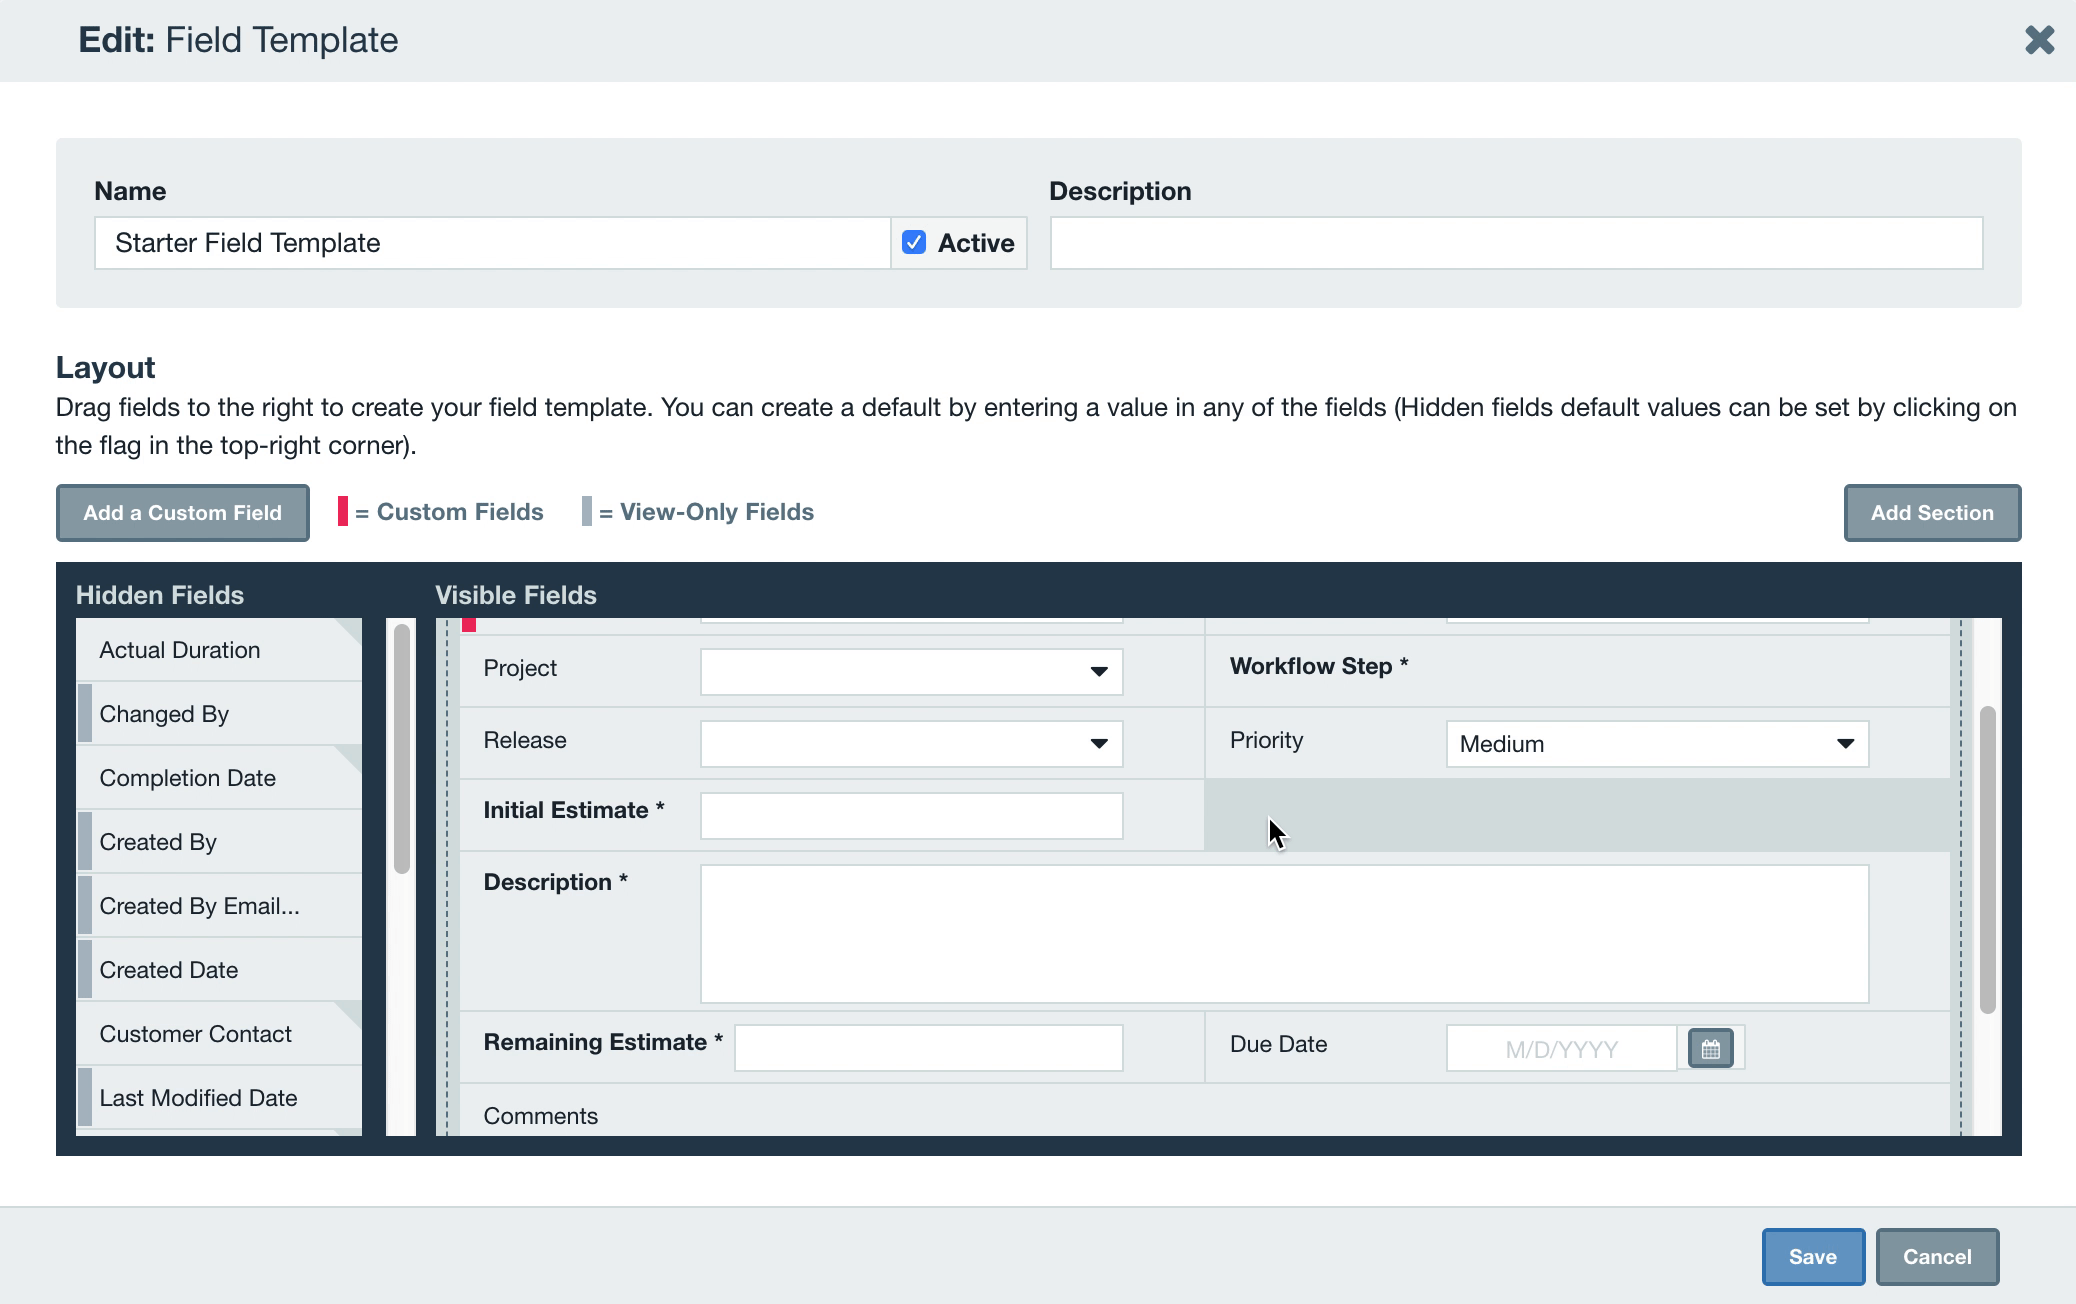
Fields can be toggled as “editable” or read-only. This means their value cannot be changed without the appropriate security role.
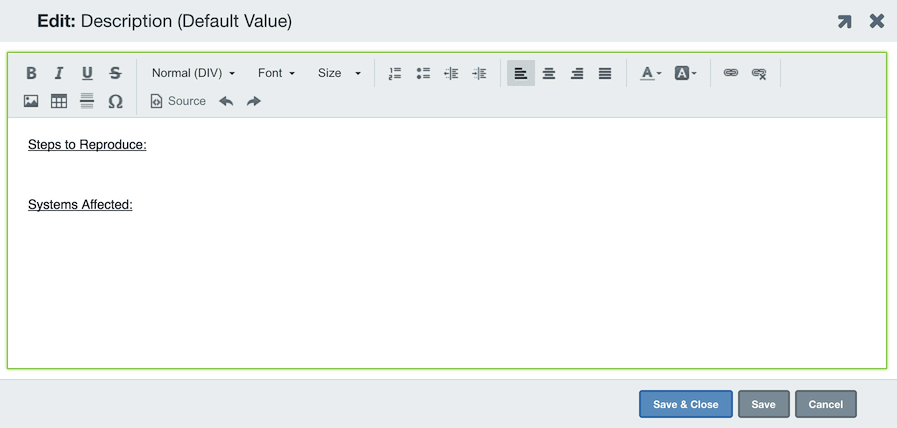
Default values
Fields can be set to have default values when items are created. Some fields can have special default behavior, such as Assigned To using the value [CURRENT USER] or Start Date using [CURRENT DATE] or [+1 DAY] from the current date. Read-only fields with default values can be a powerful way to design streamlined field templates.

Large text fields can be set to have default values. Click the Edit button to configure the values.

Set the values you wish to keep as defaults and then click Save & Close. That field will now have the default values you saved.
Using different field templates for workflow steps
You can associate different field templates with particular workflow steps, which is very helpful in displaying other information at different steps along your process.
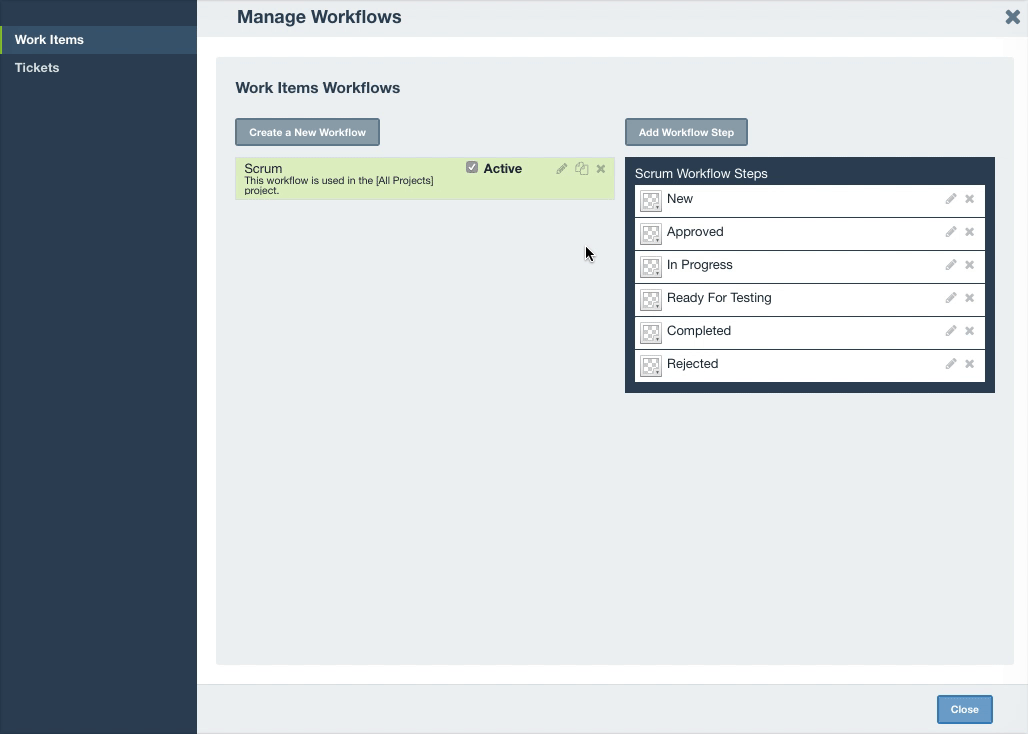
For example, a “Testing Fix” workflow step may require unique fields that “Confirmed Defect” may not. Create the field templates needed first, then go to Tools Other Settings Workflow and edit the workflow step where you would be applying the field template. Select the associated field template from the dropdown.
If this is the first workflow step in your process, then the selected field template here will be used when adding items.
Tip: If you are associating a field template that has new required fields that are not included in previous steps, select the option Force Edit to require all required fields be completed before saving in the new workflow step.
Edit using a project template
When editing an item, the default behavior is to launch the field template associated with the item's current workflow step, as item information may change from step to step. You can also instead launch the generic field template associated with the current item's project, which does not change based on workflow step.

To select the specific edit behavior, right-click the item and select the desired edit option from the dropdown menu.
For more information on configuring field templates for different workflow steps, visit the Managing Workflows page.
Portal field templates
The field template used when adding, editing, or viewing items in the Portal is determined by the item's project. To change which template is being used, you can edit the project in the Organize Panel on the left (or “All Projects” to set globally) and select the desired template under Customer Portal on the left.

Read more in Managing Projects or dive into the Axosoft Portal.