Axosoft Email Service
The Axosoft Email Service installation is required to monitor POP/IMAP email accounts and send notifications or emails.
Important: If you are performing an upgrade in a test environment using a backup version of your database, make sure to deactivate all incoming email accounts under Tools Other Settings Email Accounts as to not pull email messages into this test environment rather than going to your production database.
Installing the Email Service
Download the latest version of the Email Service installer from our Downloads and run the installer. Click Next to Proceed.
Accept the EULA.
Select for which system users the package will be installed for.
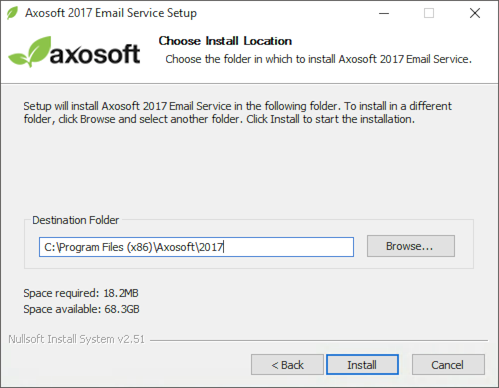
Select the installation path.
After the installer completes click Finish to exit.
Email Service Configuration Utility
After the installer completes, the Axosoft Email Service Configuration Utility will launch and now you can connect to your Axosoft SQL database. Enter the Database Server location and SQL Server username and password.
This SQL user account should have db_owner privileges to allow for adding tables, columns, and other features. If you are connecting to an existing database, you can select Open Existing Database and use the magnifying icon on the right to browse for the database. When ready, click Open Database at the bottom.

Starting the Email Service
Select the service at the bottom, then click the blue triangle button to start the service. Then save settings and exit.

Configure Email Accounts within Axosoft
View more information on Configuring Email Accounts. In order to connect a Google email account using OAuth 2.0, you will first need to perform these steps.