Large Text Fields
In Axosoft, there are plenty of opportunities to work with rich text, in wiki pages, emails, item large text fields, and more, and it features a robust WYSIWYG editor.

Text styling
Styling options include the standard text formatting options of bold, underline, italics, and strike-through. The standard shortcuts work by Ctrl on Windows and Cmd on Mac followed by
- B for bold
- U for underline
- I for italicize
Text color, font, and size can also be changed. To change the color of a piece of text, select the desired text, click the font color button on the toolbar, and then select the desired color. Changing the font and size of the text can be done by selecting the desired font and size from the drop down menu.
Text alignment
Your text field content can also be aligned as needed, supporting left, center, right, and justify.
Bulleted & numbered lists
To create a list, select the text and click the appropriate button. Both numbered and bulleted lists are “intelligent” lists. If the content is indented to a new level, the bullet or number will change to indicate a new list has started. Moving parts of a list back out a level will change the number or bullet to the previous method. Lists and also blocks of text can also be indented for readability and clarity. Click the increase indent or decrease indent button to move the indentation.
Inserting links, images, and files
In Axosoft, links can be added to wiki pages and large text fields. While external web links can be added to both Wikis and large text fields, links to wiki pages can only be added to wiki pages. To add a web link, select the text you'd like to make a link, and click the Link button to enter link information. Adding a link to a wiki page can be done by selecting the desired text you'd like to turn into a link, and clicking the Wiki Page Link button on the toolbar. In the resulting popup window, select the project in which the wiki page you'd like to link to resides in and the wiki page.
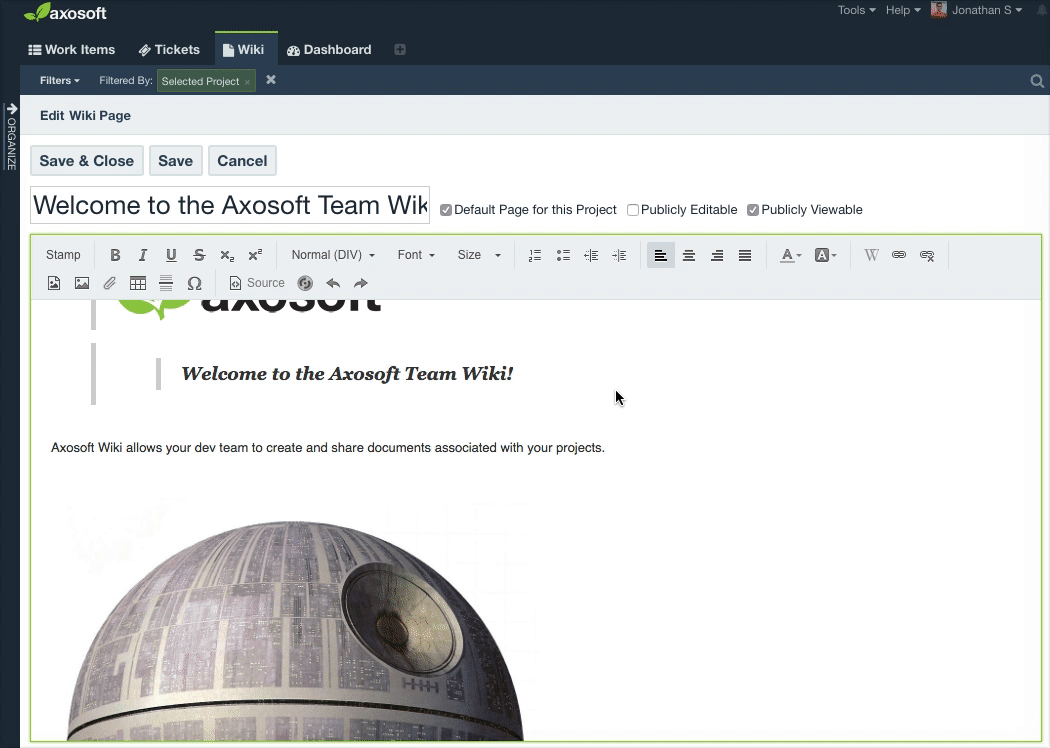
Attachment images can also be inserted into large text fields and wiki pages. Images in wiki pages can be project level attachments anywhere in the project hierarchy, while images in large text fields within defects, features, tasks, or incidents need to be attached directly to the item. To insert an image, click the Image button from the toolbar and select the desired image. If the image needs to be attached as well, select New Attachment from the list.
You can attach files to large text fields as well! Much like managing a wiki page, just look for the Paper Clip icon to attach a file in your text field. The file will appear as a link that will download the file when clicked.
Tables
Tables can also be added to your content to organize your text and images. To create a table, click the table button from the toolbar and select the desired size. Alternatively, the table wizard can be used to design the table. To resize the table, click the up/down arrows to the left of the currently selected cell or the right/left arrows above the cell to add rows or columns in the selected direction. Under the table button, you can perform advanced manipulation of cells using the buttons at the bottom.
Other formatting options
The other formatting option, available within large text fields, is to add a history stamp to the content. Using the Stamp button located to the left of the text field, a line is added to the description field. Stamps are, by default, appended to the end of the text field:
Edited by {UserName} on {date}
The default stamp location can be changed globally in System Options by toggling Edit HTML stamp position.
Stamps can be removed from the text fields by selecting the text and deleting it.
If desired, horizontal lines can be added to divide information sections.
Edit HTML
To toggle between WYSIWYG and HTML modes, click the Source button. After making the desired changes to the HTML, click the Save button on the toolbar to save your changes.