Project Settings
Axosoft allows you to set different workflows for each project, based on their specific processes.
Field Templates
Axosoft allows you to set different field templates for each project, based on their specific needs.
When editing a project, select the field template to be used when an item in the project is viewed, or when a user chooses to edit an item with Edit using project template. By default, editing items use the field template associated with the current workflow step. For more about workflow management, visit Managing Workflows.
If you want the project to inherit the field template from its parent project, select Inherit field template. The name of the inherited field template and the project it is inherited from are displayed underneath the radio button. By default, new projects inherit from their parent.
Workflow Settings
By default, new projects also inherit workflow settings from their parent. The name of the inherited workflow and the project it is inherited from are displayed underneath the radio button.
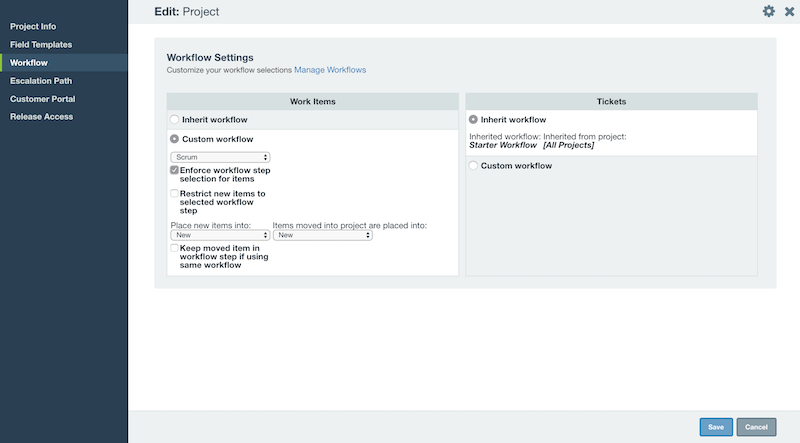
If you want to select a specific workflow for a project, choose Custom workflow, then select the workflow you want to use from the dropdown. The following settings are available:
- Enforce Workflow selection for items — With this option checked, all items must be placed in a workflow step when being created (removing the
[No Workflow Step]option). - Restrict new item to the selected workflow step — This option requires that all items created would have to first be saved in the workflow step that is selected below.
- Keep moved item in workflow step if using same workflow — This option ensures that when changing an item's project, if the old and new project both use the same workflow, then the item will stay in the same workflow step in the new project.
Recommended: We recommend checking all of these options so that when adding items, they would first need to be saved in your first workflow step, and then moved through your defined workflow process to be completed.
IMPORTANT: We do not recommend assigning a new workflow to an existing project folder. Assigning a new workflow will not move existing items over to your new workflow and result in undesirable side effects in your filters, grouping, and card view. Instead, make modifications to the existing workflow from Tools Other Settings Workflow.
Configuring Escalation Path
The incident item type for Help Desk has a special Escalation Level field that can be configured differently for each project.
When editing a project, click on Escalation Path.
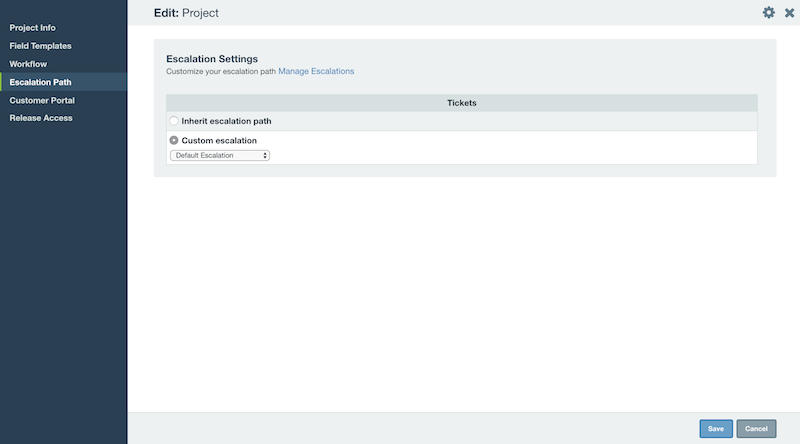
By default there is a path consisting of Escalation Levels 1-3 which can be updated but not removed. To add escalation level values, or create new escalation paths entirely, go to Tools Fields Lists.
For more about lists, visit List Types.
Portal Field Templates
In additional to setting field templates for each project, you can also set field templates for Portal in order to define what fields Portal users can view and edit.
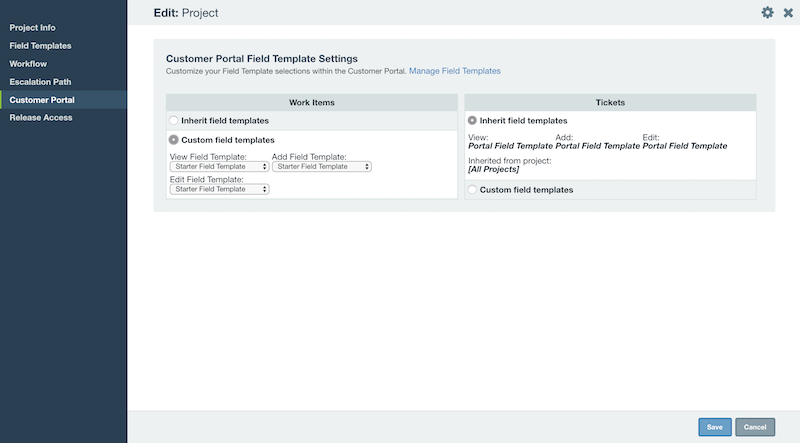
If no field template is set for Portal, then only the title will be available when customers add, view, or edit items in the portal. This is the default behavior to remove the possibility of displaying sensitive information to customers by default.
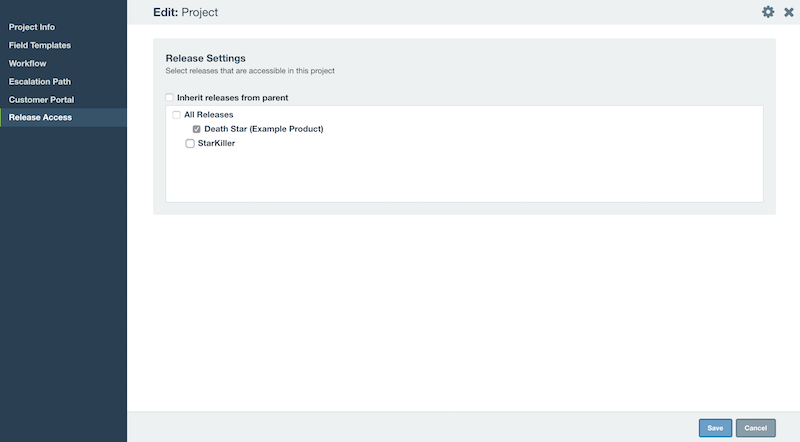
Release Access
In Axosoft, you can set which releases are associated with items in the current project. If you have user security roles with access to view only certain projects, then they will by extension only view the releases associated with those projects. Modifying this setting takes place in the Release Access screen when editing a project.
For example, if you have a user that only has access to “Project B” in their security role and its associated releases, and they cannot view “Project A”, then they would also not be able to view options for releases for “Project A” as well.
This is also helpful for when editing the release of an item, as it allows you to limit the options in the Release dropdown field for items in a project. In the example above, if editing an item in this project, your only option will be to select from the “Intranet Site” release and its children. This is great for larger databases as it allows you to manage a number of different releases and sprints, but makes the release menu more manageable and convenient by only showing relevant options.