Bitbucket
This page covers how to integrate Axosoft with your Bitbucket repository.
Enabling Bitbucket in Axosoft
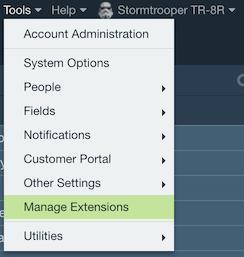
To enable the Bitbucket integration, go to Tools Manage Extensions Source Control.
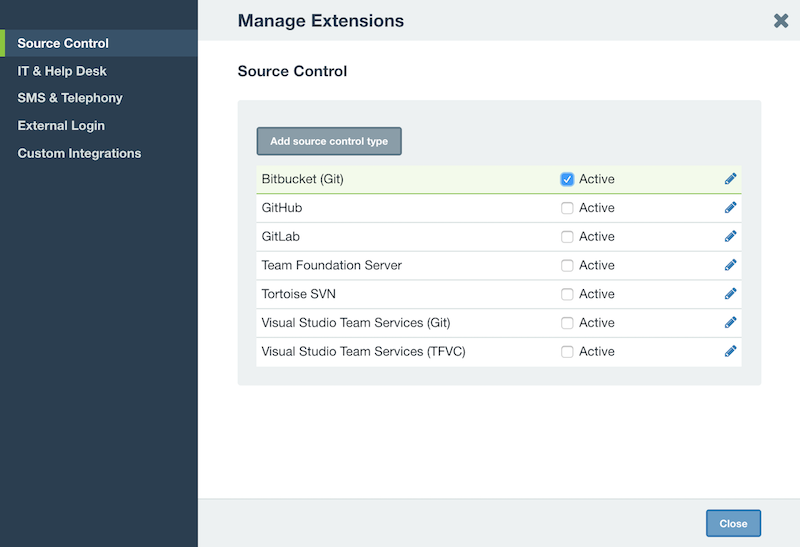
Click the Edit button for Bitbucket (Git) to open the Edit Source Control Type screen.
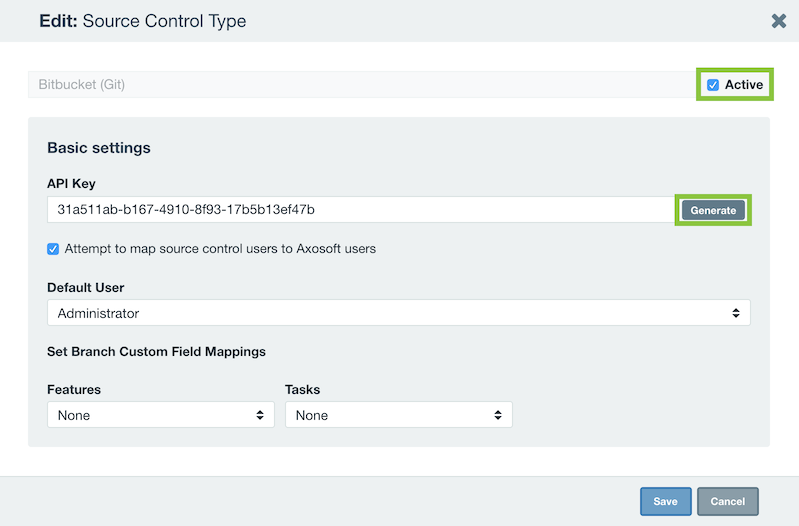
Check the box for Active and then generate a key. You will need this key to connect Bitbucket to Axosoft, so copy it down.
Configuring Bitbucket Settings
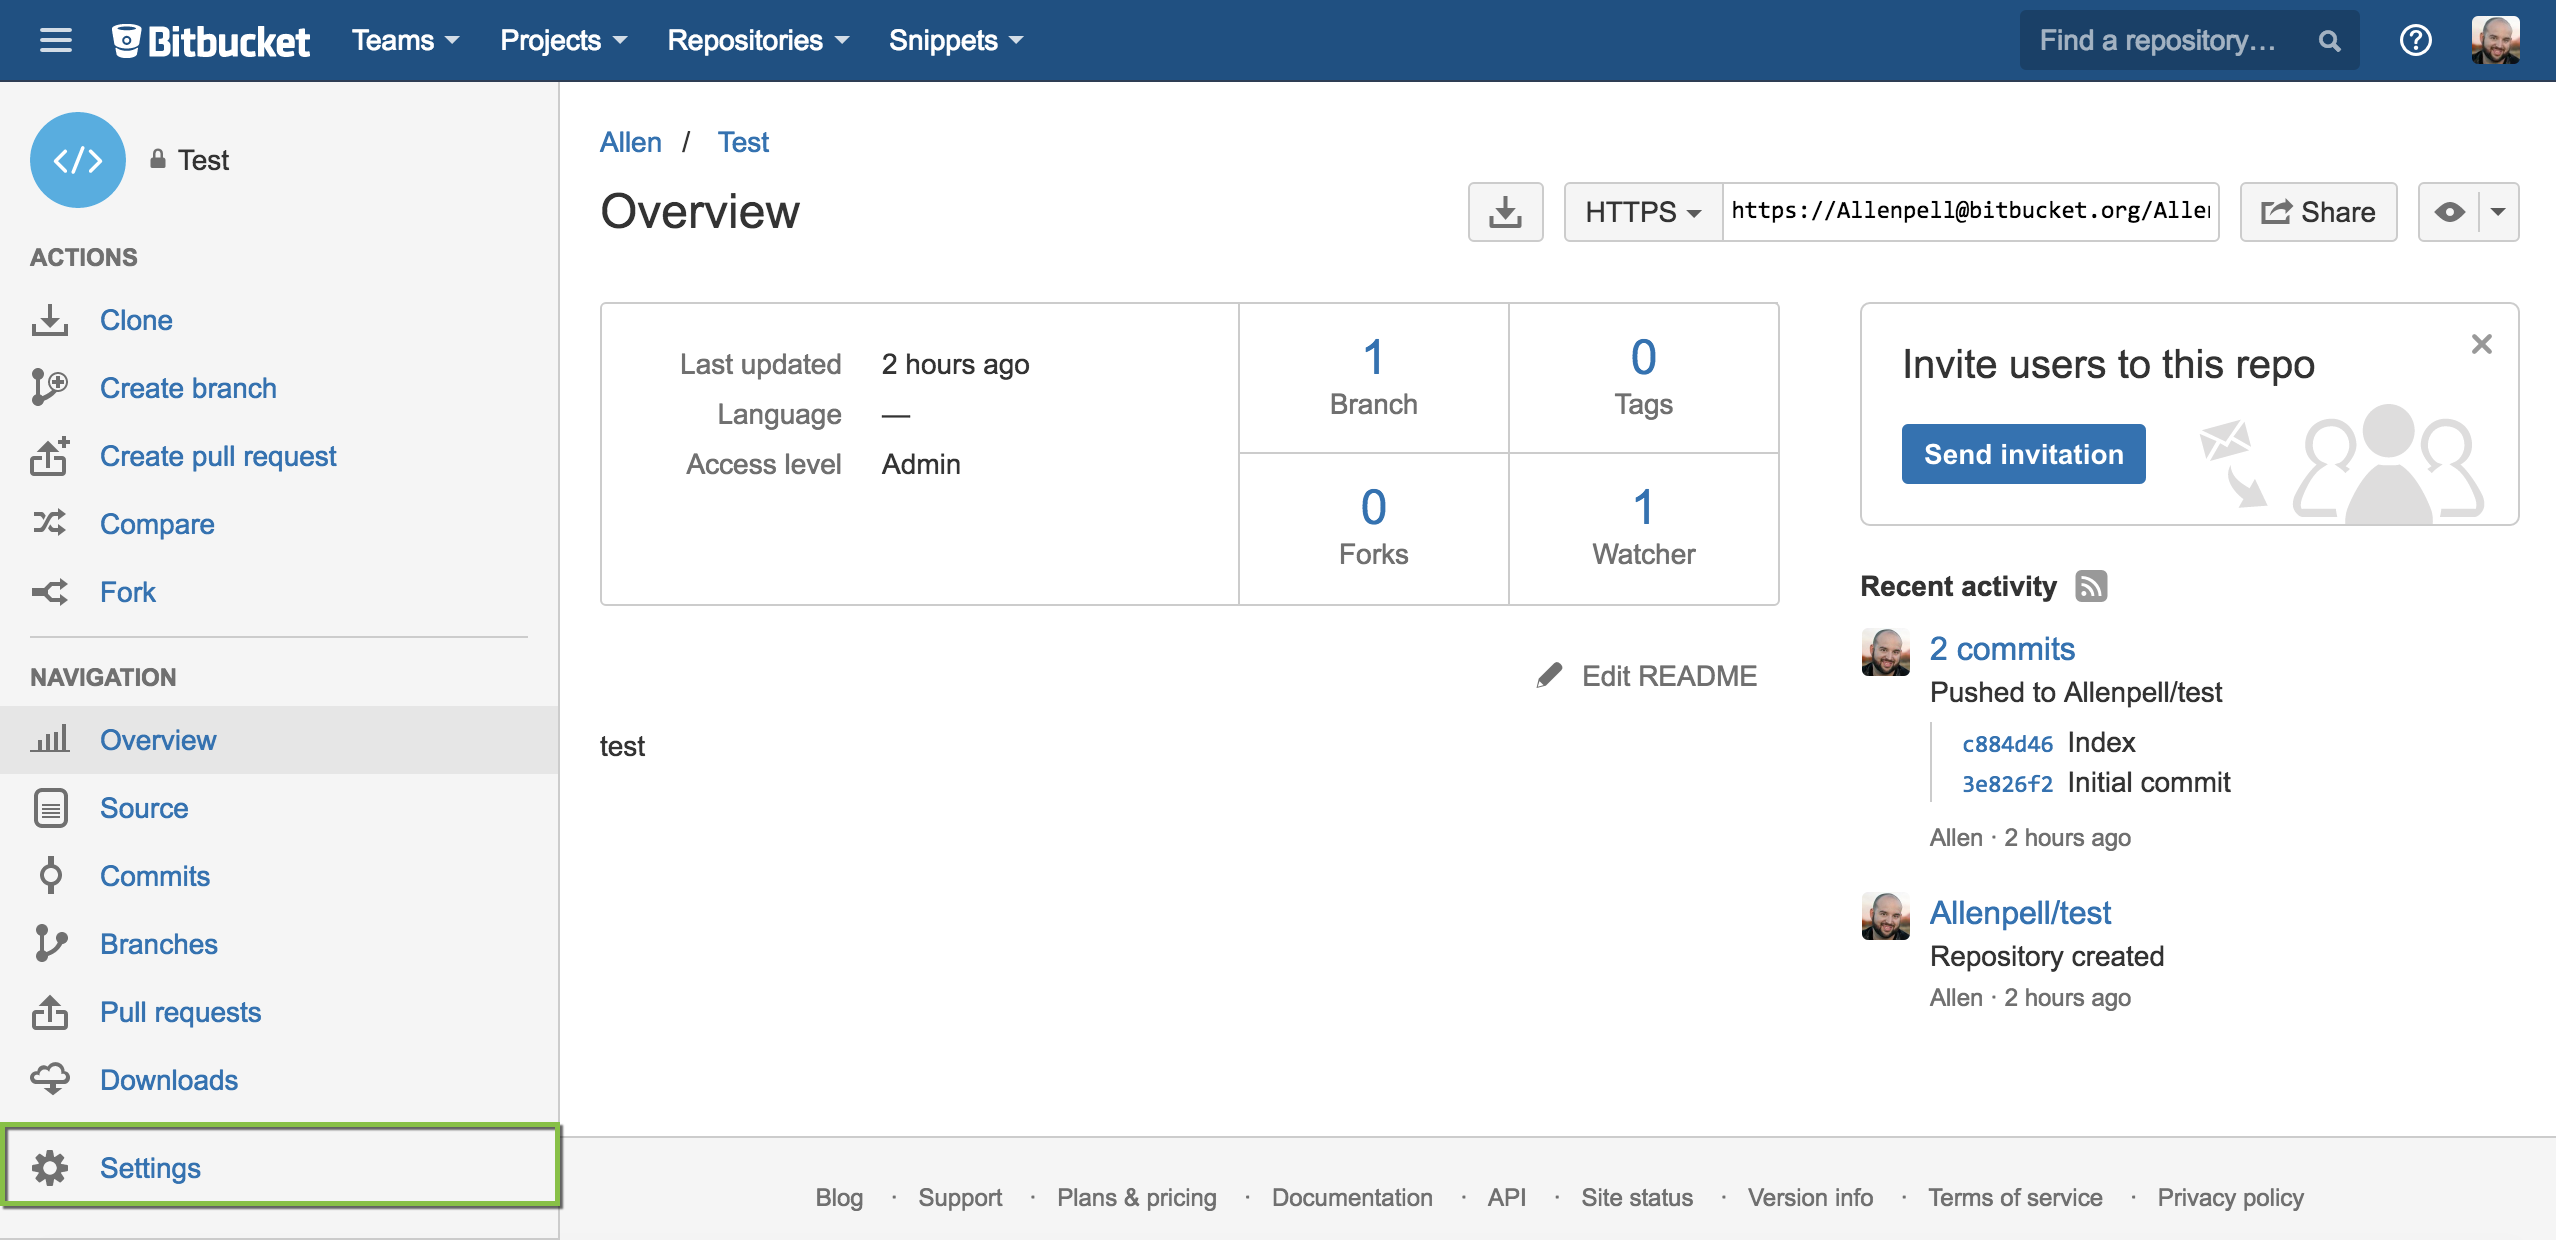
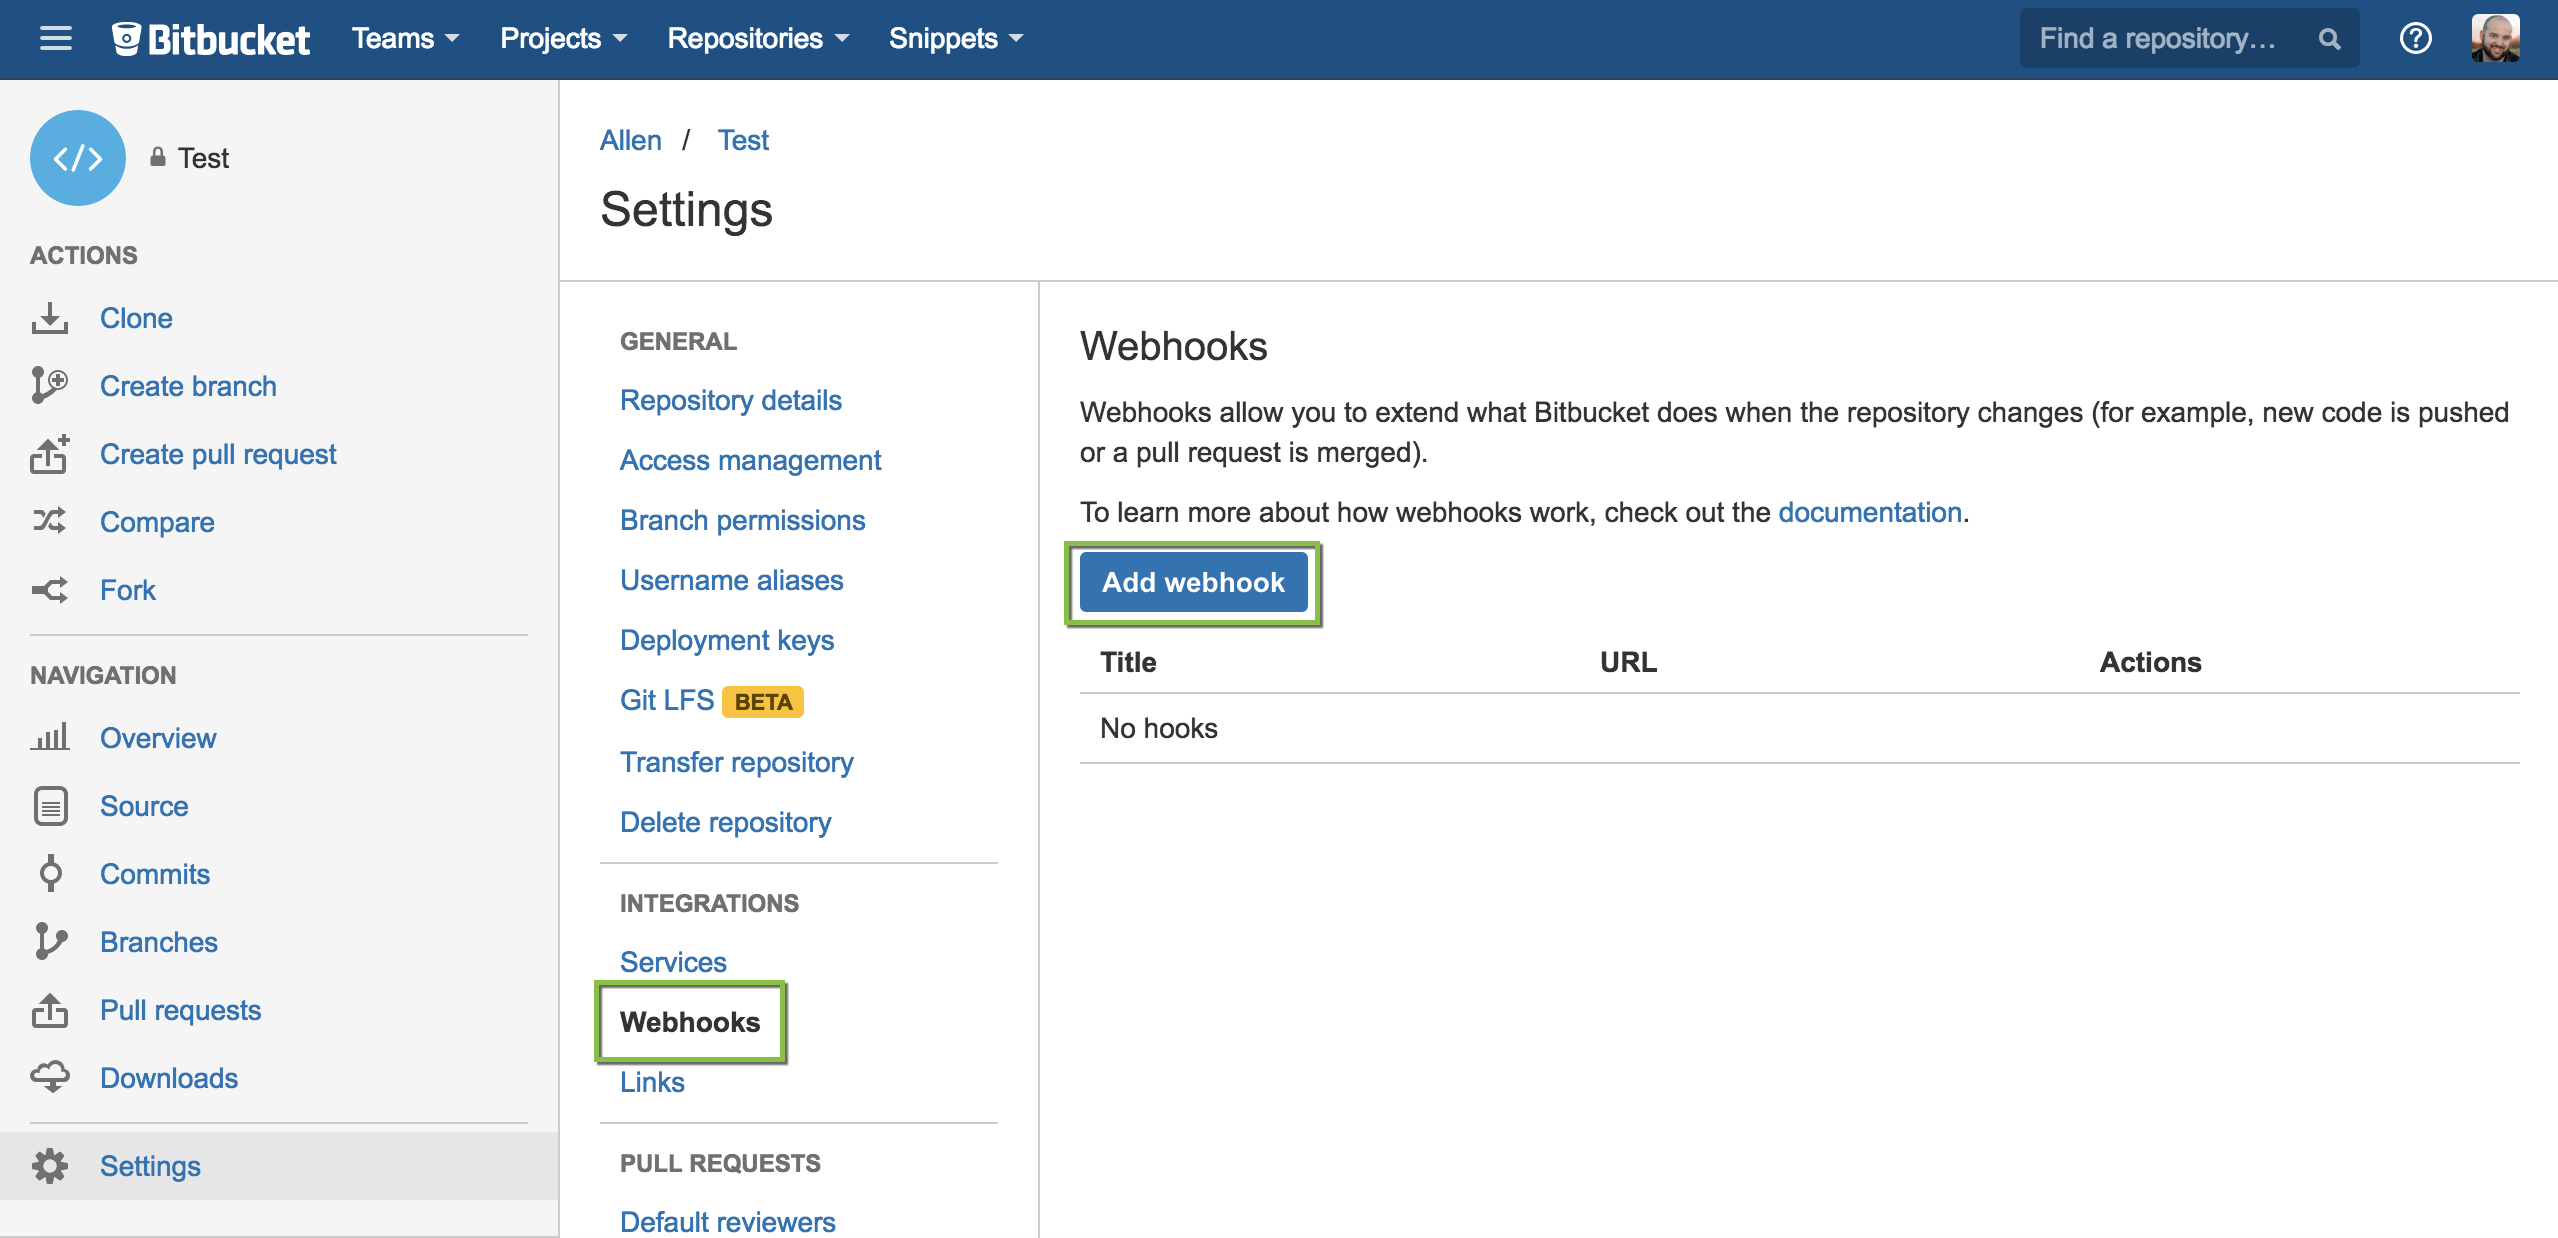
In your Bitbucket repository, click Settings.
Go to the Integrations section, select Webhooks and click on Add webhook.
Type in your Axosoft URL and add /api/v5/source_control_commits?hash=[insert key] to the end (e.g.https://example.axosoft.com/api/v5/source_control_commits?hash=[insert key]).
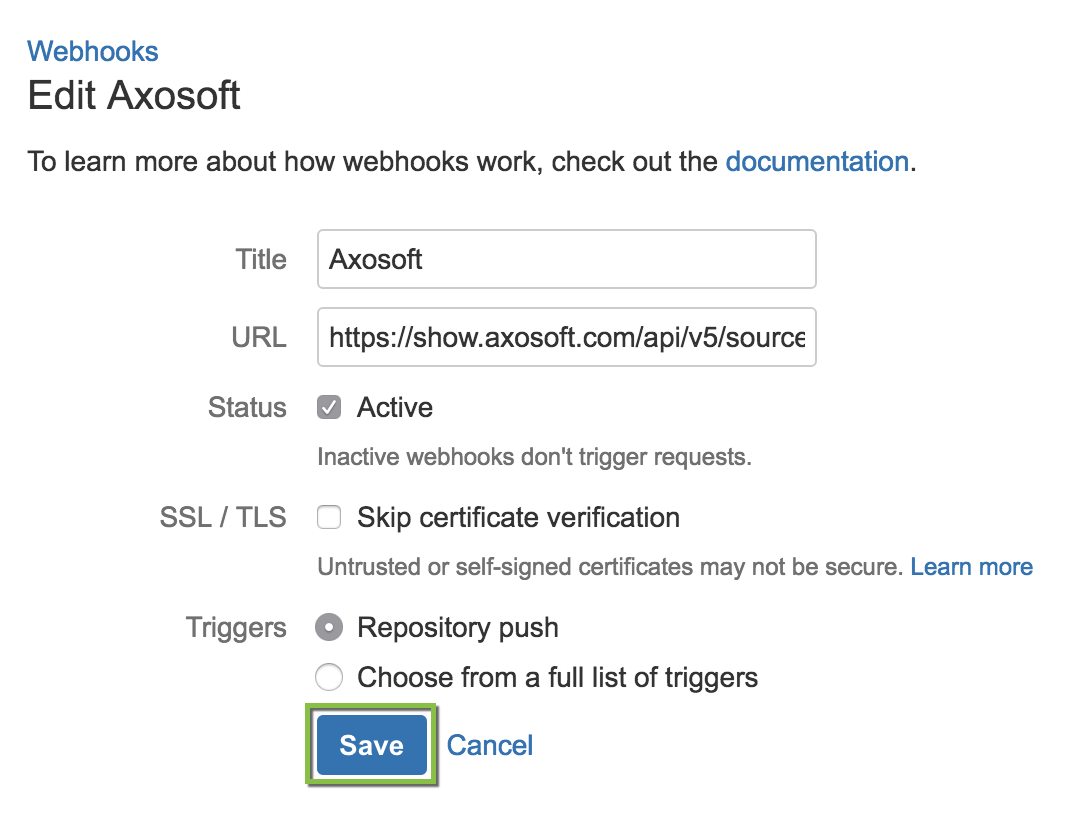
Note: After configuration, test the connection for a commit using the following: [axox: id#].
Viewing Bitbucket commits in Axosoft
Visit Commit Messages to learn how to tag Axosoft items with your commits.
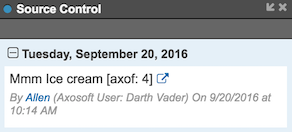
In the Details Panel, you should now have a pane for Bitbucket. (It will display as Source Control if you use additional SCM options like TFS.) Expanding a commit listed in this pane will display the commit message and date of the commit. The URL link points to the changes on Bitbucket.