Web Server Setup
Set up the core component that allows your Axosoft database to be accessed by your users.
Installing Web Server
Download the latest version of the Customer Portal installer from our Downloads and run the installer. Click Next to Proceed.
Accept the EULA.
Select for which system users the package will be installed for.
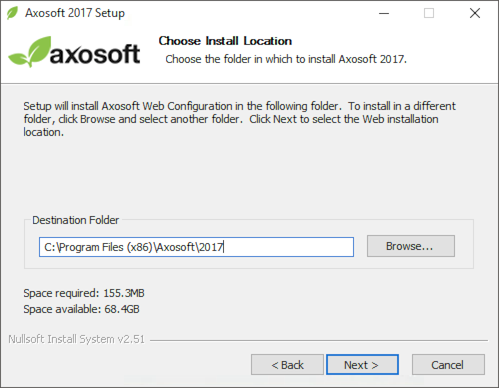
Select the installation path.
Select the installation type. We'll use Virtual Directory for this example.
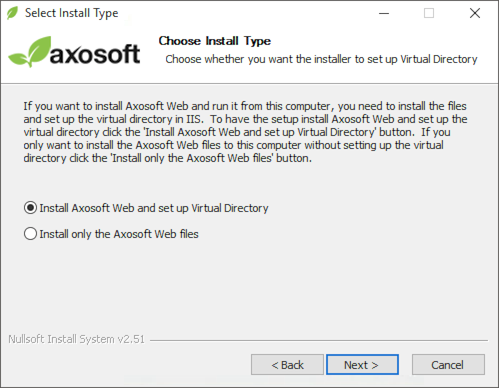
Note: To install manually, run the installer, at the Choose Install Type screen be sure to select the option to Install only the Axosoft Web files, and complete the installer Then copy the contents of the install directory (typically
C:\Program Files (x86)\Axosoft\2017\App) into your virtual directory that you have set up in IIS (typicallyc:\inetpub\wwwroot\Axosoft\) or whichever directory you use for your website. You will also need to convert the /mobile folder to an application in IIS to install the mobile site.Then you will need to run the Axosoft App Configuration Utility by going to Start Programs Axosoft Axosoft 2017 App Configuration, then point the utility to your Virtual Directory (typically
c:\inetpub\wwwroot\Axosoft\) and connect to the database.Select the Virtual Directory name and website. You can select the Web Site in IIS to install the Axosoft Web application.
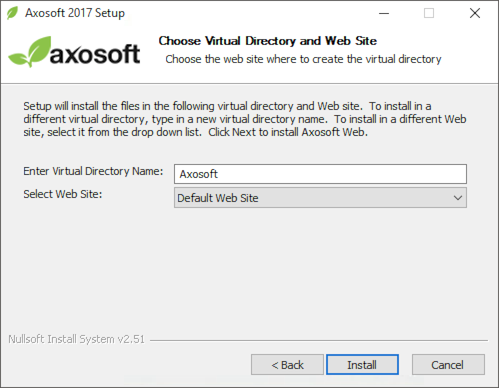
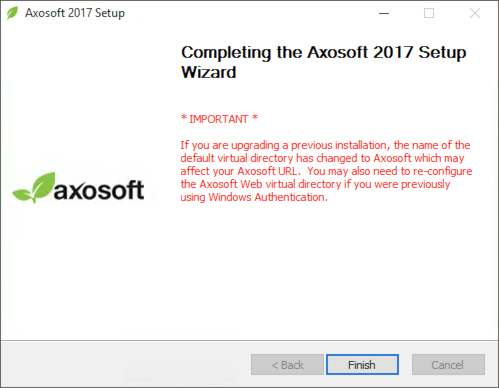
After the installer completes, click Finish to exit.
Axosoft Web Configuration Utility
After the installer completes, the Axosoft App Configuration Utility will connect the Axosoft website to the SQL database.
Tip: If you are unsure of the path to your virtual directory, you can right-click the Web Site or Application in IIS, select Explore and then copy the path from the Explorer window that is launched.
Connecting to your SQL Server
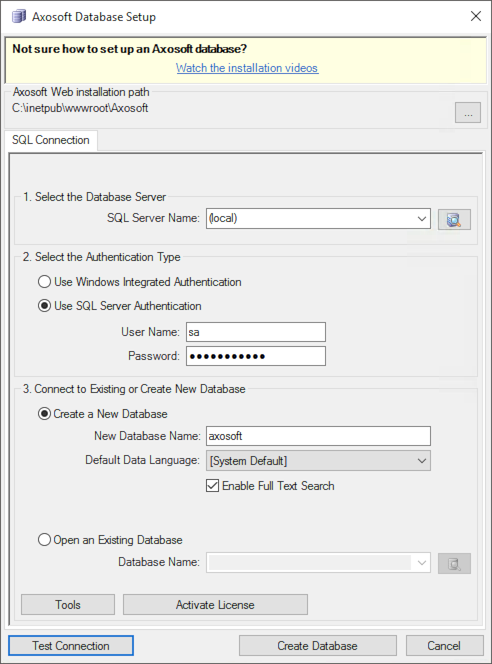
Enter the database server name or address and SQL Server username and password. This SQL user account should have _db_owner_ privileges to allow for adding tables, columns, and other features. If this is a new installation, you can add the name of the new SQL database name you need to create.
If you are connecting to an existing database, you can select Open an Existing Database and use the magnifying icon on the right to browse for the database. Click Test Connection to return the database version and verify that connection parameters are correct. When ready, click Create (Open) Database at the bottom.
Important: We strongly recommend that you use SQL Server Authentication for the connection for a Web application. When using Windows Authentication, IIS will use the ASP.NET user to connect to the SQL server which, in most situations, will not have access to the database, and it is not recommended that this user be given permission to SQL Server.
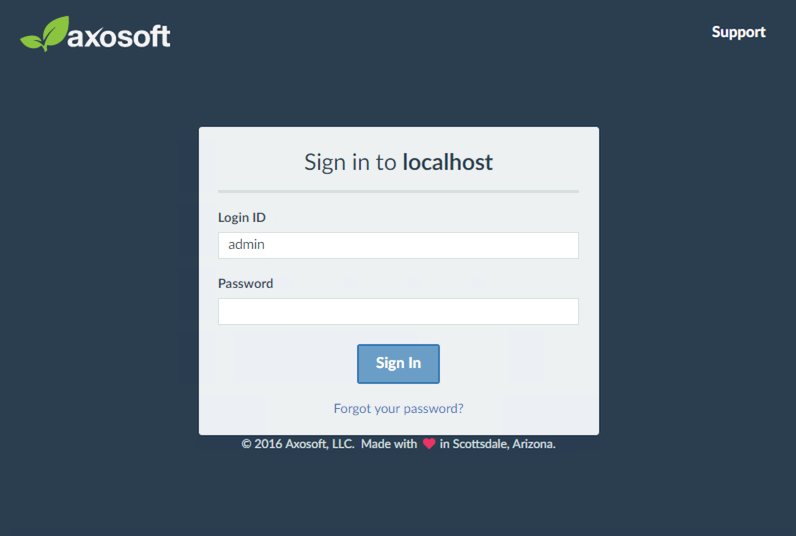
Browsing to your Axosoft website
The default login is “admin” with no password. You can update the password for your new account by clicking on the user button in the upper right and select Change Password after login.
If you need the URL of the new website, you can open IIS, and select the Axosoft Application or Website from the left, then click Browse in the panel on the right.
Activating the Axosoft License
After creating or updating the database, you may need to click Activate License in order to allow access, then save and exit the configuration utility.
If the database is not properly configured for the Axosoft web application, users may see Registration.aspx upon login and you will need to verify the Axosoft Application Configuration Utility Axosoft.config is setup and correctly pointing to the Web application root like C:\inetpub\wwwroot\Axosoft.
Note: In order to activate the database with your license, it communicates with our activation server. If this server does not have access to the internet, you can request a manual activation code from Axosoft Customer Success
Configuring Windows authentication
Axosoft has two major requirements: IIS configuration and user mapping in the Axosoft UI.
- Navigate to Tools People Users to enable Windows Authentication for each user. The Windows Login ID is typically configured in the
domain\usernameformat, but this will depend on your environment. - Open IIS on the Axosoft Web Server, select the Axosoft Web Site (or Web Application) then double click Authentication. Disable Anonymous Access and enable Windows Authentication.
If using Customer Portal or API: If you use Windows Authentication for the Axosoft website, you will get a 401 Unauthorized and Invalid Web URL error when connecting using the Customer Portal Configuration Utility. To resolve this issue, open IIS on your Axosoft Web Server, select the Axosoft Website (or Application), expand the website and select the /API folder. Then double-click Authentication in the middle, and enable Anonymous Access to this folder.
You may need to consult with your network administrator to ensure Axosoft is receiving the correct credentials. Once configured, Axosoft users with Windows Authentication will be passed through to the website.
500.19 Internal Server Error
The 500.19 error can potentially occur if using .NET 2.0 for the application pool. You may need to open IIS on your Axosoft Web Server and change the App Pool Axosoft is using to use .NET 4.0 and Integrated Pipeline Mode.
If this is set to .NET 4.0 and you continue to experience issues, you may want to ensure that you have all of the required IIS Server Roles listed in System Requirements and re-register the .NET framework.
Stuck on loading screen
Why does the axosoft website hang on the loading page or get a 404 error?
- Applying to older IIS 7.0 or IIS 7.5 instances, Microsoft has released a hotfix that resolves an issue with extensionless routing.
- There sometimes can be some confusion if you click on the green Hotfix Download Available link at the top of the page, as this does not include the installer for some versions. Make sure to scroll down to More Information and download the version for your specific version of Windows.
Other Axosoft Installed errors
With Error.aspx it sometimes is not possible to access the Exceptions list in-app and any errors experienced with the install or database can be seen in the Event Viewer Application logs on the server and additionally queried directly in the database if it is Axosoft related.
When performing upgrades both the database version and application will need to be the same for correct configuration. If this is not true then you may see the compatibility issue when browsing the site.