Portal Setup
The Portal allows your customers and other third parties to have limited access to your Axosoft database. They can request features, report bugs, start a help ticket and watch the progress of their items.
Notice: You must have Axosoft Web Server installed prior to installing the Axosoft Portal.
Installing Portal
Download the latest version of the Portal installer from our Downloads and run the installer. Click Next to Proceed.
Accept the EULA.
Select for which system users the package will be installed for.
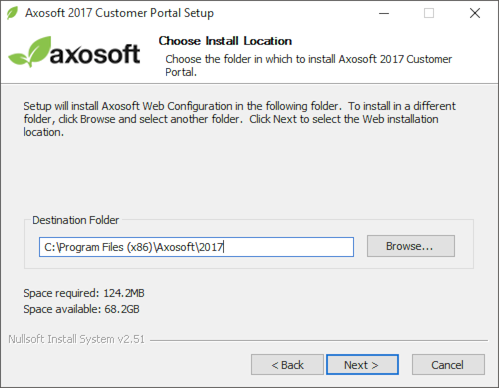
Select the installation path.
Select the installation type. We'll use Virtual Directory for this example.
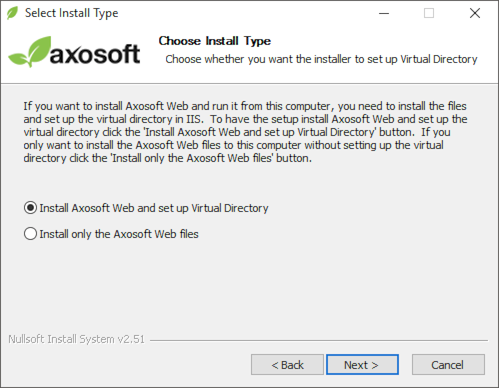
Note: To install manually, run the installer, then at the option to install Axosoft Portal and set up Virtual Directory, be sure to switch to the option to Install only the Axosoft Web files, and complete the installer. Then copy the contents of the install directory (typically
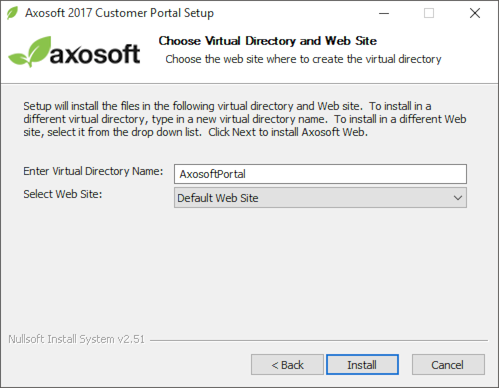
C:\Program Files (x86)\Axosoft\2017\Customer Portal) into your virtual directory that you have set up in IIS (typicallyc:\inetpub\wwwroot\AxosoftPortal\) or whichever directory you use for your website. Then you would need to run the Axosoft Customer Portal configuration utility by going to Start Programs Axosoft Axosoft 2017 Customer Portal Configuration, then point the utility to your Virtual Directory (typicallyc:\inetpub\wwwroot\AxosoftPortal\) and connect to the database.Select the Virtual Directory name and website. You can select the website in IIS to install the Axosoft Portal application. “AxosoftPortal” is entered as the Virtual Directory Name for this example and Default Web Site is selected.
After the installer completes click Finish to exit.

Customer Portal Configuration Utility
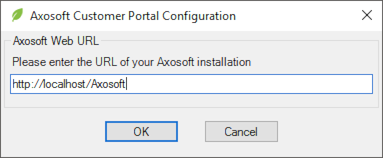
When the installer is finished, a prompt will require the Axosoft Web URL be entered for the Portal to connect with the main application. This is the same URL used to access your Axosoft production account. This by default will be http://localhost/Axosoft, but can be changed to what is configured on a per environment basis.
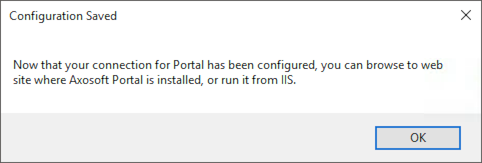
With successful connection to the Axosoft web application, you will then be able to browse to the Portal.
Invalid Axosoft Web URL error: This error is thrown when the Axosoft Web URL is incorrectly entered or if the Axosoft Customer Portal Configuration tool is unable to reach your Axosoft production account.
If the Axosoft Web URL is correct, enter IIS on your Axosoft Web Server, expand the Axosoft website and select the /api folder. Then double click Authentication in the middle, and enable Anonymous Access to this folder.
Accessing your installed Portal
If you need the URL of the new website, you can open IIS, and select the Axosoft Application or Website from the left, then click Browse in the panel on the right.
Important: If you use Windows Authentication for the Axosoft website, you will get a “401: Unauthorized” error when connecting using the Customer Portal Configuration Utility. To resolve this issue, enter IIS on your Axosoft Web Server, select the Axosoft Website (or Application), expand the website and select the /api folder. Then double click Authentication in the middle, and enable Anonymous Access to this folder.
You may need to consult with your network administrator to ensure Axosoft is receiving the correct credentials. Once configured, Axosoft users with Windows Authentication will be passed through to the website.