Work Log Tab
All work log entries in the application can be seen in the main Work Logs workspace tab.
Work Logs workspace tab
You can switch to the Work Logs tab by clicking on the workspace tab at the top of the page.
If you do not have this tab available, you can click on the icon to the right of the workspace tabs and select Work Logs from the dropdown menu.
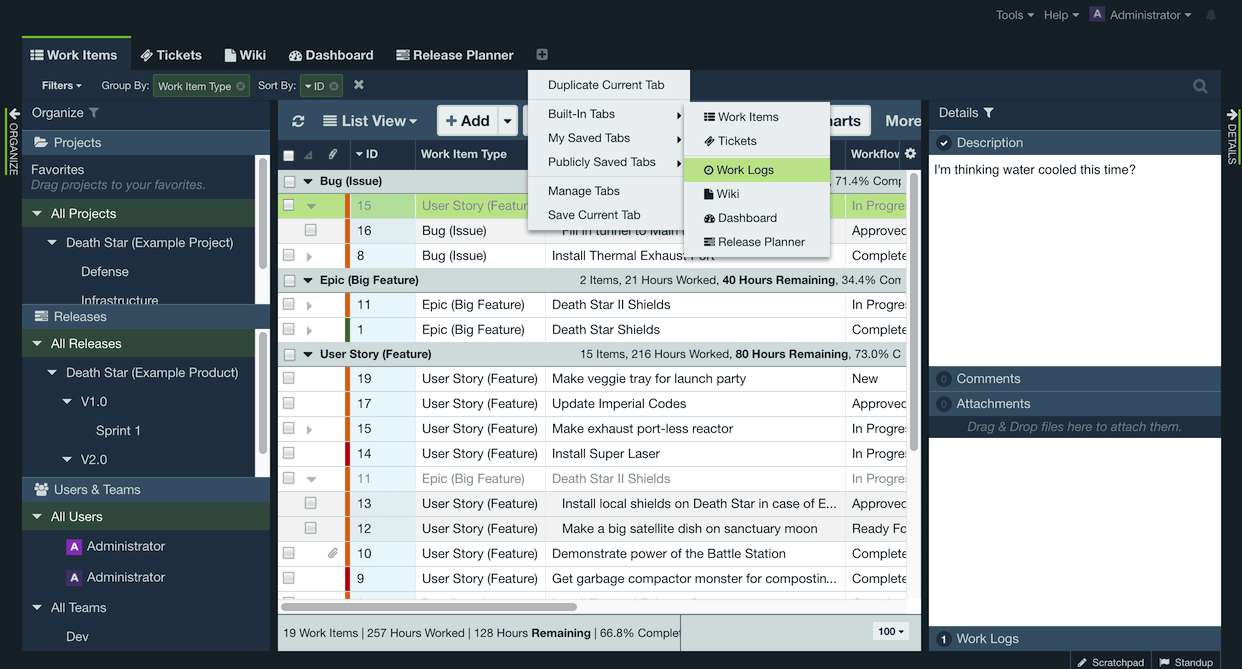
If Work Logs is not appearing, an Administrator will need to enable the option in Tools System Options in the Main Tab Visibility section
In the Work Logs workspace tab, you can view all of your current work logs and apply filters using Organize Panel selections or the Organize dropdown button in the workspace toolbar. You can view the associated item by double-clicking, or selecting the work log and clicking Associated Item in the workspace toolbar. Grouping work logs is also extremely useful as you can group by the user who entered the work log, or by work log type and view totals in the group headers.
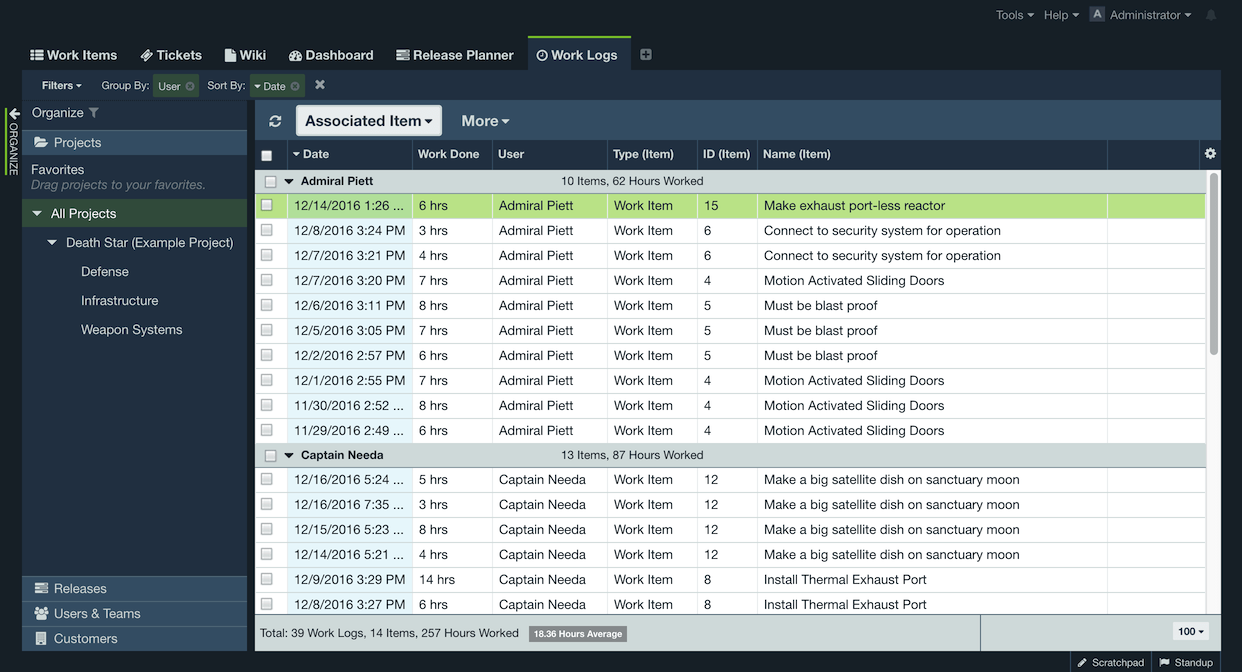
To add columns to your Work Logs tab, click the icon in the upper right corner. Here you will be able to add additional fields as columns, including any work log custom fields you may have created. Be sure to include any columns you wish to include in any of the reports or exports mentioned further down this page.

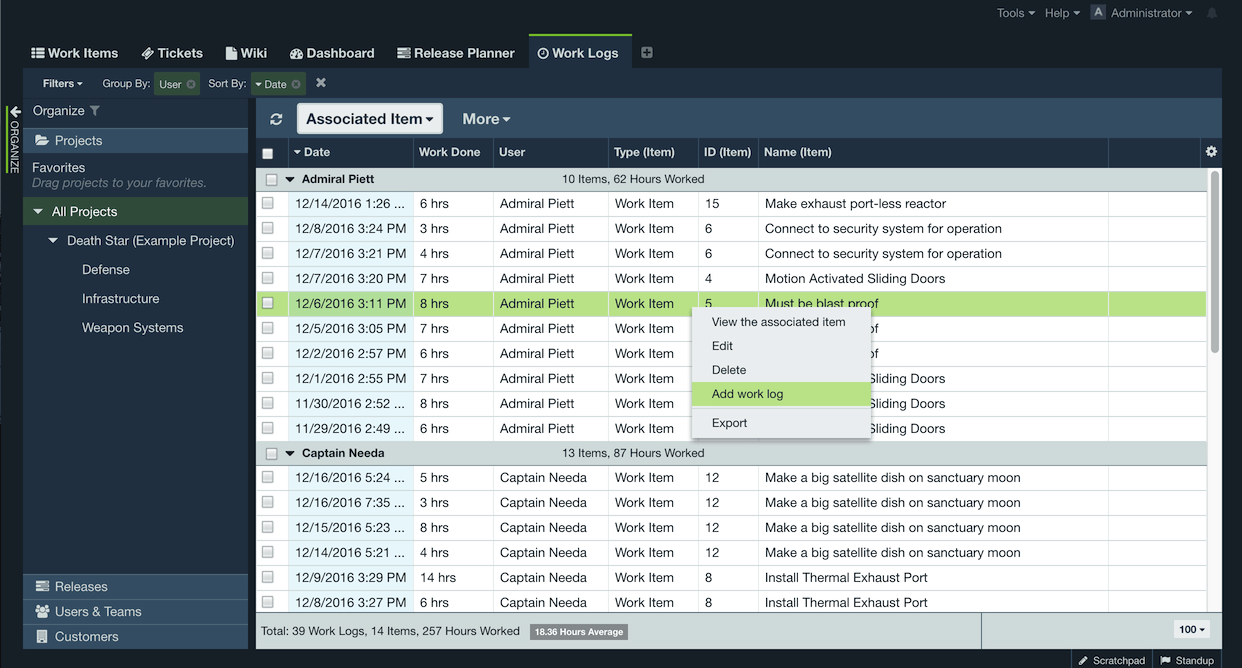
To edit and add new work log entries, just right-click and select from the dialog window.
Use the More dropdown in the workspace toolbar to export work logs or change time units displayed.
Reporting using Work Logs workspace tab
Once you have used your filters to get the desired work log data then you can choose from a few different options under the More menu
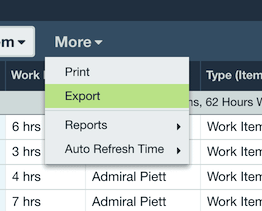
- Export to a .CSV file
- Print the workspace
- Run the Work Logs List report